

I believe that any photography student, whether a photo hobbyist or aspiring professional photographer, should be familiar with the possibilities of RAW capture and editing. In my experience as a working photographer, I've seen the benefits of shooting in RAW first hand and have always been very pleased with the work flow and results.
Let's start with a basic definition of a RAW file. A RAW file is the digital equivalent of an unprocessed film negative. It is not touched by anything but light. The RAW file is a database of light information that was registered on the camera's sensor when the shutter was pressed. There is no editing done to a RAW file by the camera's internal software.
Each digital capture starts with a RAW file, even cameras that do not provide the option of shooting in RAW. All digital cameras have native RAW converting software that processes RAW files and saves them into another file format. Amongst other adjustments, the internal software determines the white balance, compression, curves and contrast settings. This is your digital negative being processed in camera.
When shooting in formats other than RAW, the camera uses various data manipulation and compression settings that inevitably lead to loss of information after the RAW file is converted — the camera's software takes the lead on creative decision making. Creative decisions should be made by the photographer in the digital darkroom, not by the camera's default settings which have no consideration for the photographer's artistic style. When altering these settings on a JPG file in the digital darkroom, the changes will frequently deteriorate the image quality, often adding noise and creating color spots. Basically, after the image is formatted as a JPG, it has finished its lifespan for any changes to be made.
Because of RAW's quality, shooting RAW leaves more room for fixing mistakes. The higher the quality of the image in the digital darkroom, the better the changes you make will be, and the more flexibility you will have in making those changes. When shooting in JPG, the range of image manipulation grows smaller as a result of the various compression methods used in creating the file.
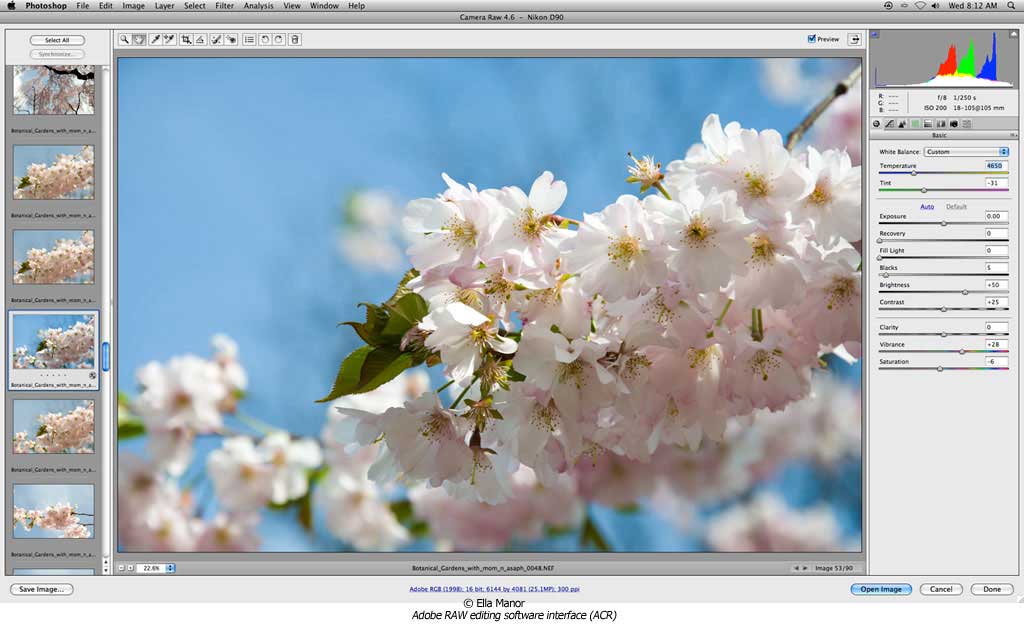
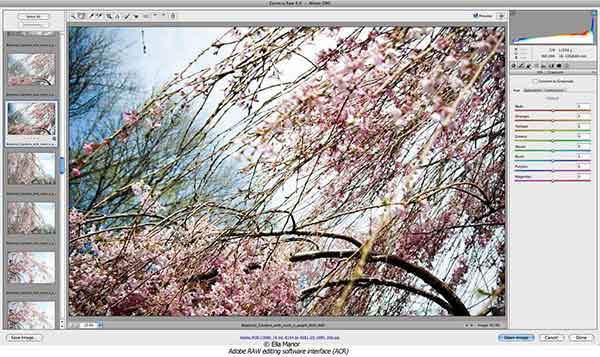
For these reasons it is highly recommended to shoot RAW and process the files with one of the many RAW conversion software platforms that available. Each camera manufacturer has its own conversion software that comes with their camera. There are third party companies that handle this as well, the most popular being Adobe Camera RAW (an extremely successful plug-in that is automatically found in Photoshop CS-CS5 and Photoshop Elements 7-8). Other programs include Apple's Aperture and Adobe Lightroom.
There's an analogy I like to use to additionally explain the importance of RAW format. When you are shooting in RAW you are allowing yourself to process your own "film negative" in your own dark room. You decide the processing time, what chemicals to use, the temperature, etc. This gives you full creative control of your work. Using the same analogy, shooting in JPG format is like giving your film to an external lab and letting them do their generic processing that has no consideration for your artistic needs or process. When you shoot in RAW and are about to edit your file (the "negative" you "developed" yourself), it maintains the characteristics you chose to give it. You now have the flexibility to take the image to a new level. Alternatively, the JPG format (the "negative" that was "developed" at an external lab) has characteristics you did not control, and now you are stuck with them. You have been limited by whatever this external lab decided for you and the quality of your work is lessened.
It is important to keep in mind that RAW files are uncompressed files and do take up more space on your hard drive than JPGs. Another important thing to know about RAW files is that they are indestructible. Meaning, when you open a RAW file and make changes to it, the changes you make are written into an XMP file, a text file also known as a "sidecar" file, which is located next to your RAW file and includes all the technical info about the changes you made to the RAW file. The XMP file is only created when you make changes to your RAW file. Think about the XMP file as a recipe for whatever changes you made to your RAW file. When saving the RAW file into another file format for continued work, it does not override your RAW file settings, but creates a new file with whatever settings you save it with. You will still have your original RAW file that was created by the camera with a click of a button. Amazing stuff!
Now, I simply can't write an article about RAW format without briefly discussing the different types of RAW files or more specifically Adobe's DNG RAW format. As stated earlier, each camera manufacturer has its own RAW file format and in-camera RAW conversion software. The problem with this multitude of RAW formats is that different software will work in different ways with each RAW format file — sometimes it won't work at all. For example, Nikon's NEF RAW file format would occasionally not open with Photoshop CS3 and CS4 if there was an uninstalled update to the Adobe Camera RAW plug-in. In another example, Canon's CR2 RAW file format did not work in Photoshop CS3 and CS4 if a certain camera had new versions of CR2 RAW. The need for a standardized RAW file format surfaces and this is where Adobe's DNG comes in.
DNG, or Digital Negative, is a non proprietary (brand-less) RAW file format. It will work anytime and anywhere with any software. It is smaller than other RAW files formats and therefore takes less hard drive space. This file format standardizes the RAW workflow and makes am image maker's professional practice smoother and glitch free. Adobe offers free DNG conversion software on their Web site but most workflow applications like Bridge, Aperture, and Lightroom will give you the option of converting to DNG while you download the images from your camera. It takes a little longer to convert the images to DNG than to use the files that are already on your camera but it's worth the extra time.
All you have to do in order to shoot RAW is simply set your camera to shooting RAW. That's it. There's nothing else you need to know or do. I hope that everyone reading this article that hasn't been shooting in RAW will at least try it out. Have a great experience; improve your work flow and your image making abilities. Once you've tried RAW — you will never go back!


