


Did you know that iPhone images are the most uploaded images on the planet?
Did you know that iPhone images are exhibited?
Did you know that the 645PRO camera app shoots iRaw and outputs in Tiff?
Despite the small sensor, the iPhone is a pro level camera, although to be fair, a little noisy in low light. Nothing’s perfect, but it’s a camera that can always be with you, encourages spontaneity, keeps your head in the creative game, and allows you the create printable files.
Here’s a few tips to help get the most out your iPhone and to get the highest image quality:
- Check that the apps render images in the iPhone’s native resolution: 8MB or larger. How do you know? Because native resolution is a huge selling point and if it’s not in the app description, I assume that it’s not native resolution. Also, check in the app preferences on the iPhone, where there may be a setting for image resolution. It’s not uncommon to use an app that renders files at 8MB, but the quality is set at 500k.
- Be aware that the iPhone will require longer exposures in low light to record a good exposure, like any other camera. The exposure may be too long to hand hold, which will result in an unsharp image (now, that can be a technique to get an “artistic” blur in your image). However, in those conditions where you want sharp images in low light, consider a small tripod or even pocket tripod. The tripod mount that I use (because it works with all cases), is the Sidekick and SidekickPLUS from MeFoto.
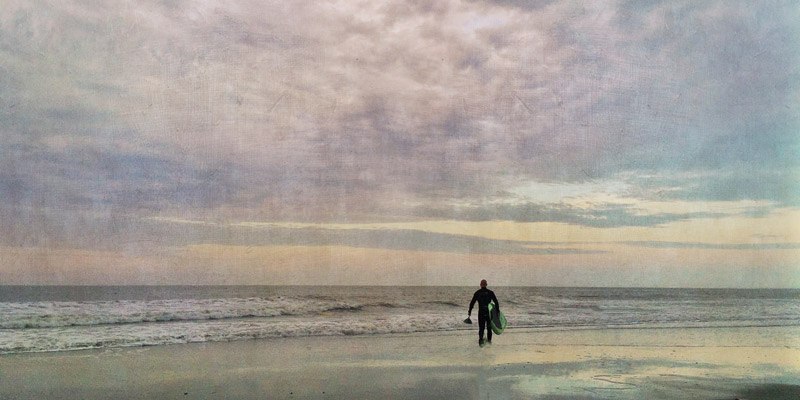
- Always having the iPhone with you is the easiest way to getting the most out of your iPhone, as you are much more likely to grab a shot when there is less gear involved. To paraphrase the great Jay Maisel, “The more you carry, the less you shoot.”

- Spend time practicing processing. Write down effective process routines. If you get what you like and did not record the steps, double click the home button and you can see and scroll through the sequence of apps just used which may jog your memory.
- If you plan on using the phone a lot for photography, consider some battery saving measures. These will get you started. There are more online via a search (i.e. battery saving tips for iPhone).
a. Close open apps. Double click the home button, and then push the icons up towards the top of the phone. The icon will go away, as will its need to drain power.
b. Turn Wi-Fi off unless using an open hot spot.
c. If not using location services, turn them off.
d. There are also cases that double as power supplies, e.g. Mophie and Lenmar
- Although you can use your fingers, expanding them on the screen to get to a telephoto range, don’t do it. The quality is greatly diminished. If you can, get as close as possible to your subject. If you want to try accessory lenses, the best I’ve seen to date is by momentlens.co. Their 18mm and 60mm lenses bayonet mount onto a low profile mount affixed to the phone, however, you’ll need to use one of their recommended cases (I have the Spigen), as the mounts are very low profile.
Like anything else in life, the more you put into it, the more you get out of it. Have fun in iPhone-land!
Do you want to learn photography? NYIP is the world’s largest online photography school. Request your free course catalog today!


