I have an embarrassing confession to make: I did my first dozen-or-so free portrait sessions without understanding how to use my meter. I’m one of those self-taught digital photographers who decided photography was a cool thing, bought a camera, and put out a shingle advertising a business. I would take a picture, look at the back of my screen, and then change my settings to try to make the picture brighter or darker. Once I figured out what the meter was — and how to read it — my photography improved dramatically.
Most dSLR cameras offer the ability to use a spot, center weight, or matrix meter. The spot meter is the go-to option for many portrait photographers because they aren’t as worried about blowing out the sky or any white clothing; creamy bright skin ranks highest on the list of priorities. Below is an example of a blown-out sky. It’s almost completely white in my photograph (in reality there was some blue peeking through the clouds), but I don’t mind because in this portrait I’m most concerned with the silly expression on my son’s face.

The key to using the spot meter is moving your camera around to point the center of your lens at the portion you want to expose for. Look through your viewfinder, and you’ll find a mark indicating the center of the frame. Position that mark on the portion of the photograph you want to expose for, usually the skin if you are doing portraits. Look at the meter in your camera and aim for settings that indicate somewhere between correct to +1 exposure (the nearly +1 is for those who are most interested in exposing for the skin).
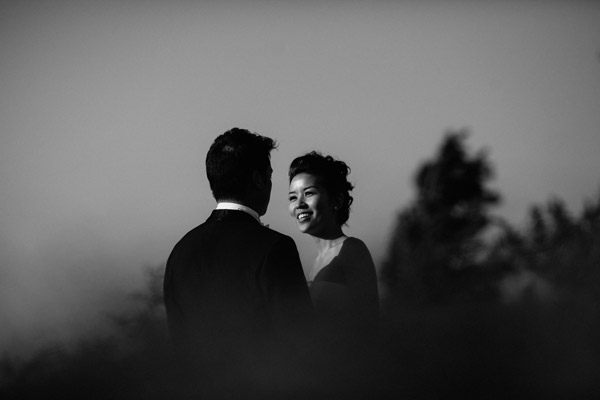
As this bride turned to smile at her husband, with his black hair and black tux, it was crucial that my exposure be correct for the lit side of her face in order to capture her expression and the detail on her face.

When the sun is low in the sky, either right after sunrise or right before sunset, you can use spot metering to create silhouette shots that turn your subject into an outline against the sky. As my dad reached out to my son to hand him something, I took the reading off the sky to make sure that my exposure was on a setting that would emphasize the dramatic clouds as much as possible. If I had metered for my subjects in this instance, the sky would have lacked detail (like the first image in this post).

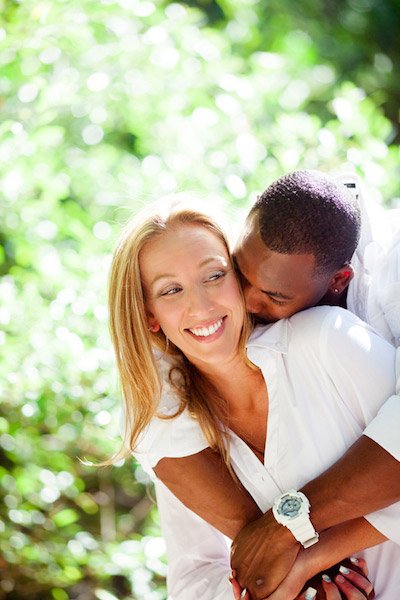
Something I’m still working at is getting the best exposure for multiple skin tones. In the photo below I needed to find the middle ground between his dark skin and her light skin — and the bright white shirts they were wearing! The beauty of photography is that there is always something new to master. Once you feel you have a handle on spot metering, what are you going to conquer next?

NYIP is one of the leading photography schools in the world. Let us help you know your spot meter, and more! Enroll today for as little as $39!


