

My son attends a wonderful play-based preschool where they learn through experimentation and creativity. It didn't take long for the artwork sent home to start collecting in stacks all over house! I bought a curtain wire from Ikea and started hanging my favorite pieces in his bedroom — but the wire can only hold so many photos, and the artwork just keeps coming.
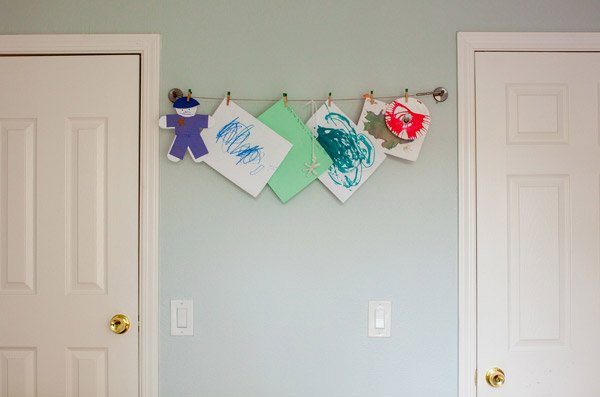
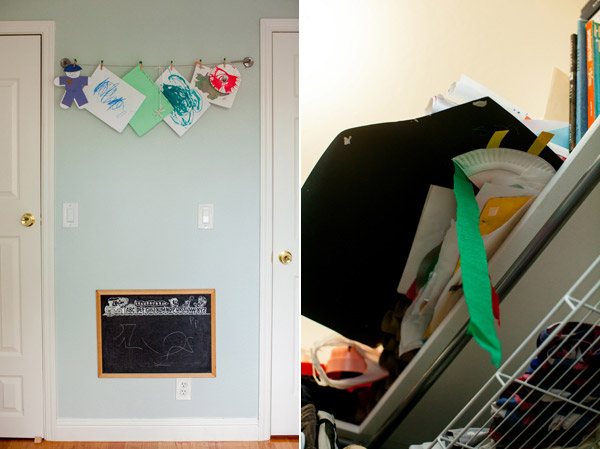
Visitors to his room see a sweet display of childhood creations, but if they glance into the closet they see towering piles of paper ready to send a shower of glitter down upon them if they get too close.
I knew that I needed a better solution for the long-term, and so I decided to let go of the physical products and digitize. If you'd like to do the same you only need a few things:
- Artwork
- Removable adhesive putty
- Camera
- Lens with focal length greater than 50mm
- Window, preferably north-facing if you're in the northern hemisphere
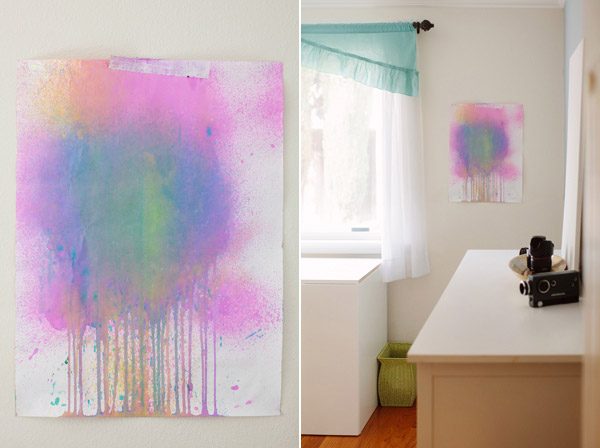
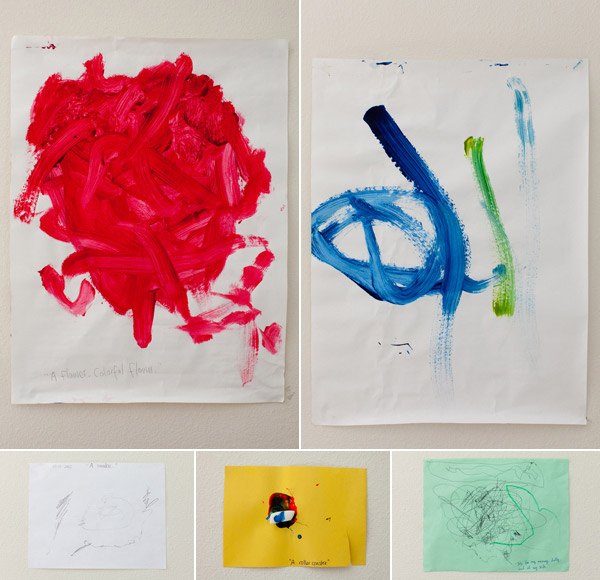
Photographers in the northern hemisphere prefer north-facing windows because they never get direct sun (look for south-facing windows if you live below the equator). If you can, shoot in the middle of the day because that's when you will have the most light to work with. Wherever you choose to place the artwork, make sure it is a spot that doesn't have any direct light shining harshly on it. Put the putty directly on the wall where the corner of your artwork will be, and push the paper firmly against the wall. Putting the putty on the wall first will help the papers peel up easier as you swap them out.
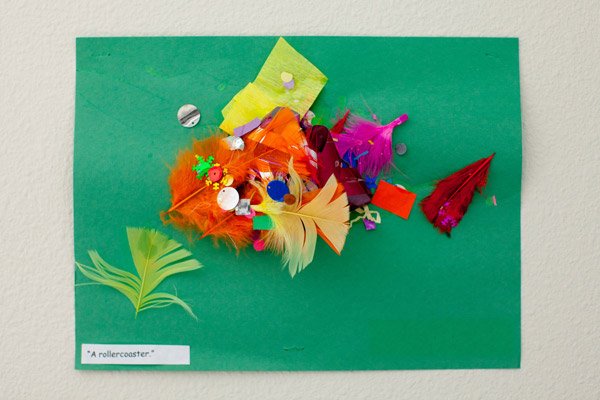
Use a longer lens to help isolate the photo, and remove any distracting elements that surround it. Meter for the lightest portion of the frame and err on the side of slightly over-exposed. Try to keep your ISO lower than 800 to minimize grain, and use a tripod to maintain consistency in your framing. I made one mistake that you can now avoid — use an aperture setting greater than f/8; otherwise, pieces with raised elements will have some portion out of focus.
Once I've worked my way through the pile, I bring my images into Lightroom and do my best to match the exposure, white balance, and crop of each photo. If you are struggling to get these photos to look the same, there is an easy way to adjust exposure. After you have chosen the photos you want to keep, select them all and navigate to the Library module. Choose Photo - Develop Settings - Match Total Exposures to quickly match the exposure of all of your photos.
I'm thinking about assembling all of his artwork into a book one day. I photographed a wedding where the father of the bride presented his daughter with a book showcasing her best childhood artwork. She had no idea he had been saving and dating all of her pieces, and all of the guests enjoyed flipping through the book at the rehearsal dinner. The benefit of digitizing is that all of my son's artwork will be assigned a timestamp in the metadata of each photo, which will give him an approximate idea for creation date when he looks back on it 20 years from now. (That is, as long as I keep up with photographing it on a regular basis!)

And one last tip — save your favorite piece for the very end. Leave it up for a few weeks, and use it as décor in your home! The next round of artwork photography will leave you with another new piece to freshen up your décor.
Bonus: Want to learn photography? Enroll in an online photography course from NYIP today.


