The New York Institute of Photography is one of the world’s largest photography schools and because we are, we often publish fun and useful photography tips on our photography blog. Please enjoy!

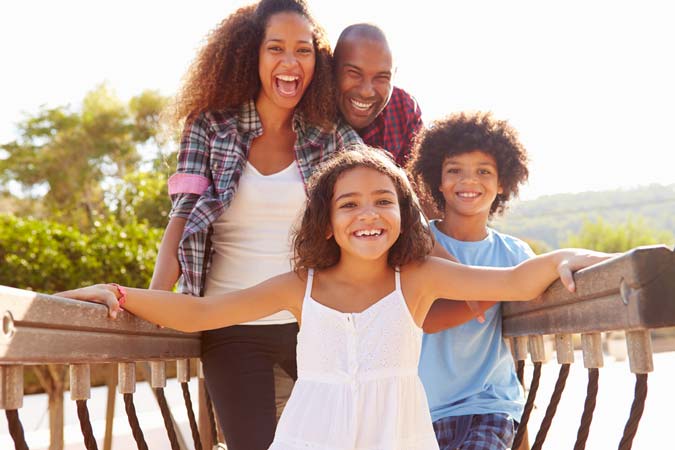
One of the biggest challenges you’ll face when shooting a group photograph is accommodation of height differences amongst your subjects. Some clients are self-conscious about being short, for example, and will look to you for guidance in effectively masking stark differences to the best of your compositional ability.
One of the best tricks for making someone small look a bit taller is to position that person the closest to the camera lens, and have others placed gradually further away in order of height (taller subjects being the furthest back). If you do this successfully, you should be able to make the shortest person and the tallest person in any given group appear to be the same height.
Another trick is to establish a group leader. For example, if you are taking a picture of a grandmother with all of her grandchildren, said grandmother would likely be chosen as the leader of the group in this compositional layout. Once your leader is chosen, you can have him or her stand in the front of the portrait, and then pose other subjects around them, slightly behind and to the side. This kind of arrangement has a pleasant aesthetic symmetry to it, and it can also be used to even out small height differences.
Want to learn more? NYIP offers accredited photography classes that can help you learn photography or start a new career. Request your free course catalog today!


