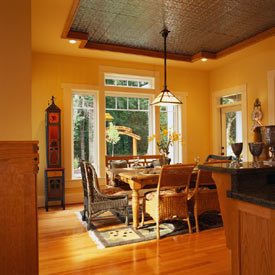
We all take lots of pictures indoors, and today's handy on-camera flash units make it easy to make good photographs indoors. But for most amateurs, the subject isn't the indoor space itself; instead, it is one or more people-family or friends, perhaps at a party or celebrating a holiday. Or else, a baby, or the family's prized pet.
The room is merely a shell, its appearance is an afterthought at best.
The skill of photographing a room, whether it's in a house or a commercial environment, is one that is practiced principally by professionals who specialize in architectural photography or interior design work. Most people never give much thought to making a room the subject of a photograph. That's a mistake.
Think how many reasons it might be good to have photographs of certain rooms:
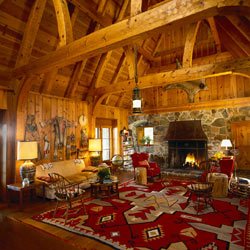
The living room in your parent's old house where you grew up.
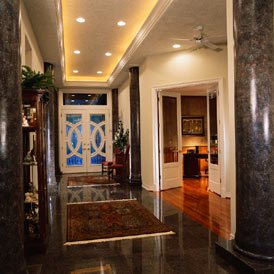
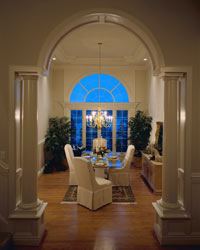
If you're listing a house for sale or rent, a good photograph of a luxurious living room or dining room might be a great promotion item. Good detailed photographs of a room and its furnishings might come in handy for insurance documentation. And, particularly as we grow older, who wouldn't value a photograph of a childhood bedroom from years gone by?
Let's explore a few of the basic techniques that professionals who specialize in photographing interiors use to make stunning photographs. As you will see, there are a few easy steps you can take to make certain that if you want to take photographs of interior spaces you will get the best results.
Let's start with New York Institute of Photography's Three Guidelines for Great Photographs.
About the Three Guidelines:
If you are unaware of these Guidelines, you'll find a full discussion of them in the Picture of the Month feature on our Web site. Guideline One asks, "What is the subject of my photograph?" Usually your subject will be a person or object in a space, but when you're photographing a room, your subject will be the entire portion of the room that you see in your camera's viewfinder.
That means that you'll want to be careful to select the most interesting portion of the room to photograph, since it's virtually impossible to include an entire room in a single photograph.
As an aside, we should note that there are some interesting methods of using digital photography to "stitch" together a number of different still photographs into a single image that allow the on-line viewer a 360-degree view of a room. Some programs allow the viewer to navigate around the room and view it in different directions. But that's a special subject outside the scope of this article.
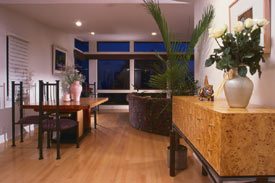
So, in relation to interior photos, the most important aspect of NYI's Guideline One is to make certain that you select the best possible portion of the room to photograph. Show the best view of your subject. In addition to the most significant objects and details in the room, you'll usually want to use a wide-angle lens to take in as much of the room as possible. Most zoom point-and-shoot cameras have a maximum wide-angle setting of 35mm, and most point-and-shoot models without zoom have a lens that "sees" about 35mm or 38mm view. That's pretty good for indoor work, although this is a place where the user of a single lens reflex (SLR) has an advantage in that there are wide angle lenses of 28 and 24mm (or even wider) that allow the photographer to capture an even larger portion of the room.
In addition to the furniture and architectural details that you may want to capture, as you select that portion of the room that is going to be your subject, you need to give some thought to lighting. We'll cover this in more detail in a bit, but for starters, make sure that you avoid having an extremely bright window in the scene since that will tend to attract the viewer's eye and may also create exposure problems. If there are a lot of windows in your scene, consider shooting at twilight when the illumination levels will be closer.
NYI Guidelines Two and Three are very important when you're photographing interiors.
Emphasize
Guideline Two asks, "How can I give emphasis to my subject?" For many subjects, the trick is to make your subject large in the frame and if possible in the front of the picture field. Obviously, your interior photograph is going to fill the entire frame. If there is a key element in the room, such as a fireplace, an Old Master painting, or dramatic stairway, you'll want to make sure that the element is featured prominently. Even then, it probably won't make sense (or be possible) to put that object in the front of the frame. If there's a Van Gogh on the wall behind the sofa, you'll need to show the sofa and the wall as well as the painting.
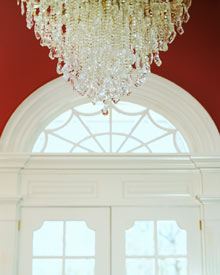
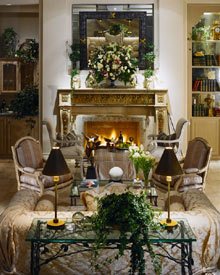
Two ways to make sure that the key elements in your room are given emphasis involve color and lighting.
For example, if you want to call attention to a dark dining room table, or the Mission Oak desk in the library, a bright vase of flowers placed on top of the table surface will help guide the viewer's eye to that object. Similarly, a table lamp that is turned on will cast warm light on the surface of the table on which it sits and the objects in the immediate vicinity. Chances are, if you've got a Van Gogh on the wall, you'll also spend the money for a good lighting device to make sure the painting stands out in the room both day and night. When you make a picture of the room, you'll probably want to make sure that you light the painting.
Remove Distractions
Guideline Three asks, "What can I do to simplify my photograph or to remove distracting items that take away from the subject?"
This is, without a doubt, the most important Guideline for interior photographs, and it is an area where most interior photographs fail. Let's look at some of the reasons why this happens, by taking the key distractions one at a time.
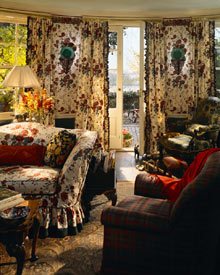
Distraction One: Too much clutter, too much stuff.
Some wit, no doubt a photographer who specializes in interiors, noted that photography is "Ten percent creativity and ninety percent moving furniture." There's a reason for this-the average interior, no matter how tasteful, usually has too many items in it to read well in a photograph. Get rid of the pillows on the couch! Get the wastebasket out of the shot! Clear the writing items off the desk, take out the leaf in the table, hide the telephone and get rid of the porcelain figurines! While you're at it, burn the newspapers and take those books back to the library.
If you look at a magazine that features fine interior photographs, and if you could visit the set when those photos were taken, you would be amazed to see all the things the photographer removed from the portion of the room that is being photographed before getting started.
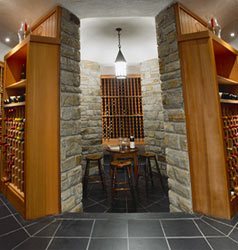
In interior photography, less really is more.
Distraction Two: Vertical and horizontal lines that are crooked. Nothing destroys our perception of a room more quickly than a photograph where vertical and horizontal lines are crooked. The key step to avoiding this is to make sure that you point your camera straight ahead and don't let it tilt down or up.
Depending on the angle of your camera, there will be times that horizontal lines may tilt. That is less serious than the vertical lines that are created by the corner of a room. Those must be straight up and down. Otherwise, the sense of tilt is very distracting.
Interior Lighting
Distraction Three: Bad Interior Lighting. The worst lighting of all indoors is fluorescent light. Many color film stocks render it with a deathly greenish cast that is very distracting.
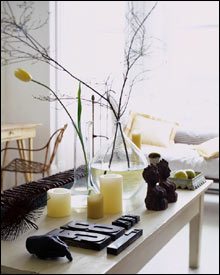
As we noted earlier, if windows appear in the section of the room that you are photographing, it is likely to cause exposure problems-the windows will be too bright and the room too dark. Even during the day, it often makes sense to turn on the lights in the room. Standard tungsten bulbs cast a warmish light, but that color-mix often looks good in an interior photograph. Another trick to quash bright daylight-pull the curtains!
Professionals sometimes put a stronger light bulb in regular lamp to raise the level of illumination in the room. Be careful with this technique unless you know a little bit about electricity. To overcome low illumination, we offer three ideas:
Don't use your flash. It will make the room look strange. Instead, turn off your flash. Your exposure will be long-that's no problem if you put your camera on a tripod. Use fast film, such as ISO 800. If you are using a digital camera, raise the camera's ISO setting as well.
These tips are just the beginning. As we noted earlier, if you follow these tips, your interior photos will never look the same!
