

The New York Institute of Photography is one of the world’s largest photography schools and because we are, we often publish fun and useful photography tips on our photography blog. Please enjoy!

When working in Photoshop, if you notice that your image has a slight color cast to it (or if you realize you were using the wrong white balance at the time you shot it) you can most likely remove it using the software’s color balance adjustment layer.
To get started, select the tonal range you want to work with on your image- either shadows, midtones or highlights. From there, adjust your sliders (shown below) to achieve the results you desire.
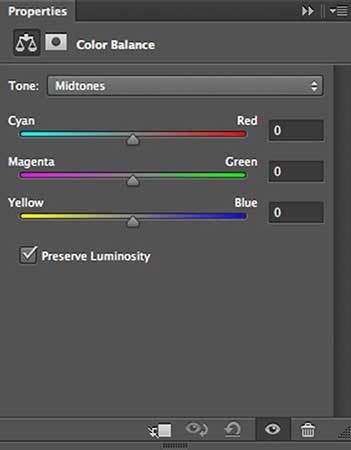
During this step of the process there are no consistent rules regarding how you should adjust being that every artist is working towards their own individual aesthetic preference. The only general idea is to drag the slider away from a color you’re hoping to remove and toward a color you’re hoping to increase.
Want to learn more? NYIP offers accredited photography classes that can help you learn photography or start a new career. Request your free course catalog today!


