

If you’re an outdoor photographer, it’s no secret that the perfect nighttime image is an especially compelling pursuit, albeit a tricky one to execute. However, even if you are a complete beginner to astrophotography, there are a number of easy technical adjustments you can make in order to simplify the process.
Before diving in, it’s important for you to first visualize the specific type of star shot you’re going for. Do you want to see the stars in motion? Or do you picture them as individual, tiny pinpoints in the sky? Is it the moon you’re more interested in? All the recommended compositional adjustments worth making will depend on these creative decisions. Here we’ll share 4 tips that can be applied in various situations:
How To Photograph Stars- Use Time-Lapse Photography
If you want to photograph the stars in motion, you’ll need to compose a time-lapse shot. Depending on the type of camera you’re working with, you might even have an interval timer built into your device. This would be extraordinarily helpful to employ in this composition. The interval timer controls how much time passes between exposures as well as the total number of exposures your camera will make. This in turn essentially leaves you with an orderly record of images captured over the given timespan you’ve allotted your device to cover (so for example: I want 10 images captured over the course of 20 minutes).
Once your device has captured the series of images you’ve requested, you’ll need to do some post-processing work in order to view them in motion.
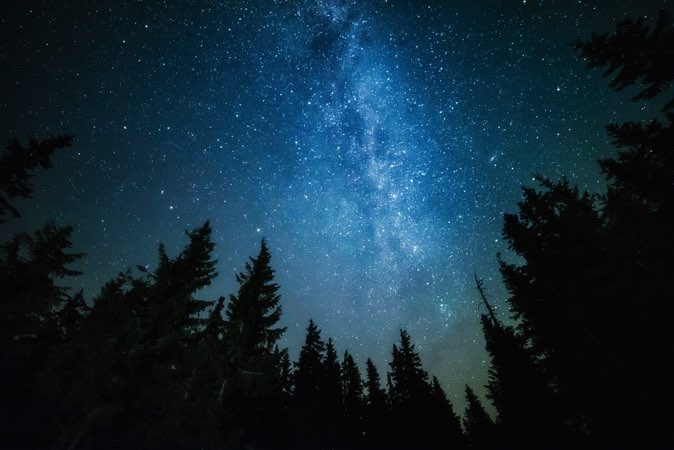
- Choose the Right Conditions
In order to capture the perfect starry skied shot, you’ll need to be super mindful of the conditions within which you’ll work. Generally, we recommend you shoot on a clear and moonless night (unless the moon is something you’re specifically looking to include- if not, the darker the better). You should also pick the location carefully- avoid areas polluted with light such as cities or busy, well-lit towns.
- Pack Smart Equipment
First of all, always make sure that you come prepared with fresh, fully charged batteries. Especially if you’re shooting a time lapse or long exposure that will require your device to stay on and working for an extended period of time, you don’t want your nighttime shoot cut short on account of unpreparedness.
Second, we highly recommend you work with a sturdy tripod and a cable release. That way, you can set up the exact composition you want, articulate the perfect focus, then step away, assured that your shutter click won’t jolt the camera and knock a fragile shot like this off balance.
- Pick Helpful Settings
We suggest you use a white balance setting of somewhere in the ballpark of 2800-4000. The best way to make this decision is to take a test shot, then head to the histogram to check for proper exposure until you find a setting that produces results you’re personally happy with.
Additionally, we recommend you start with the absolute widest aperture on your lens, exposing for at least 20 seconds. From there, you can make small adjustments to your ISO as needed until you find a happy medium.


