

The New York Institute of Photography is the world’s largest online photography school, and because we are, we often publish fun and useful photography tips on our photography blog. Please enjoy!
If you’re interested in exploring macrophotography, close-up captures of raindrops can be a great project to start with. Before you begin, here are 4 tricks to consider during your first shoot:
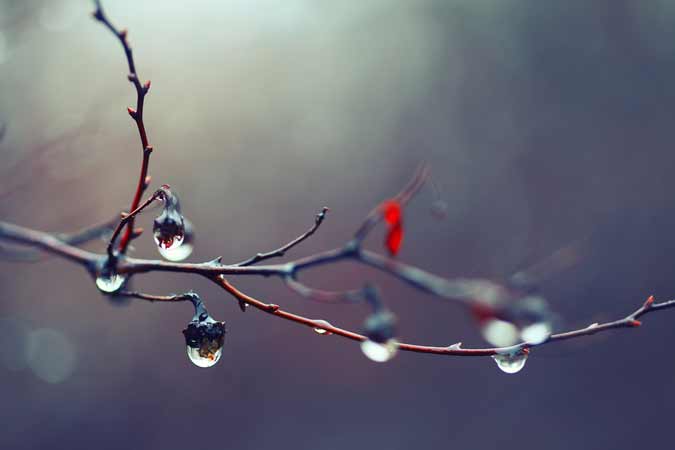
1. Choose a practical subject. If it’s your first time photographing tiny water droplets, try to choose a bright backdrop on which the translucent condensation will stand out against more vividly. Experiment with plants, flowers and colorful leaves around your yard until you find a natural hue to serve as a concrete backdrop.
2. Bring your own water. Fill up a small household spray bottle and bring it along on the shoot. That way, you can re-spray leaves that are starting to look dried-up, plus you won’t have to wait for a rainy day to get practicing.
3. Try an action shot. For this project, you might want to work indoors against a dark, synthetic backdrop. Use a little backlighting with that dark display and position an object (maybe a picked flower or leaf) in your view. Ask an assistant to stand out of the frame and squirt the spray bottle onto the prop. Mid spray, try to capture the action using about a 1/250 shutter speed.
4. Focus Manually. When working with tiny objects that might not all be exactly the same size, you’ll compose clearer, sharper shots this way.
Want to learn more? NYIP offers accredited photography courses that can help you improve your hobby or start a new career. Request your free course catalog today!


