

As my daughter approached her first birthday, I started to think about how to capture her at this stage in her development. Most of my work is done on-location with natural light, but for this particular set of photos I wanted to strip away any distracting elements and really focus in on her features and reactions. I don’t have the full set of equipment necessary for a full studio setup, so I set out to develop a pop-up studio that would utilize natural light in the small space I have available.
Supplies Needed
- dSLR camera
- Lens, preferably with focal length longer than 85mm
- Seamless background paper
- Twine
- Damage-free hook that can hold at least 5 pounds
- Electrical or masking tape
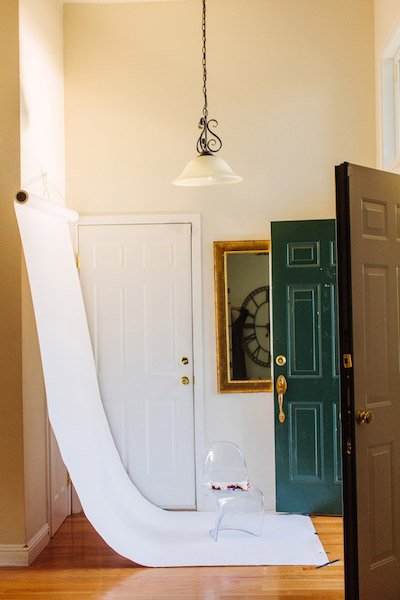
The beauty of this setup is that it takes just a few minutes to set up, and for most people it will only require the purchase of seamless background paper. I bought a roll of white seamless background paper online for $40 and only had to throw away a very small portion after the shoot was finished. I used the same roll again for another shoot a few weeks later. Photographers in your area might be willing to lend you a roll in exchange for a small payment.
This arrangement can be set up in your home on any wall located within a few feet of a large source of natural light. I put up the hook one day before I planned to shoot so that it would bond with the wall as much as possible — I knew that the paper would shift a bit as my subject moved around. I tied a piece of twine through the paper tube to create a hook and pulled enough paper through to create a base for my subject to stand on. You can use less paper if your subject will be standing and you only intend to capture them from about their calves up.
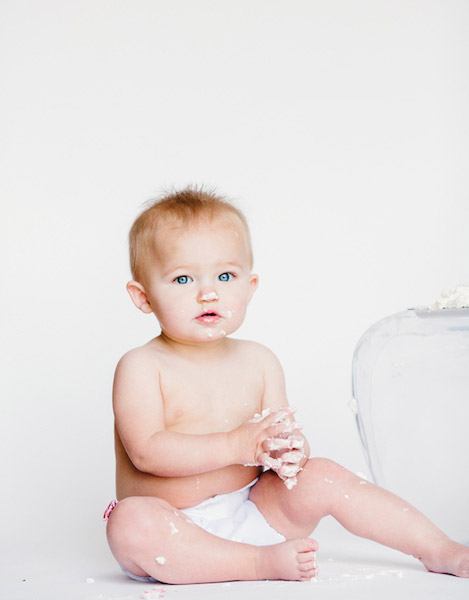
Don’t forget about taping the ends down. Electrical tape is best because it will peel away from the paper when you’re done, and if your subjects don’t wear shoes (or have a cake smash!) you may be able to re-use the entire portion of seamless paper you pulled out for the shoot.
I watched the light the day before to understand when it would be the strongest without shining directly into my shooting area. I used a 135mm lens so I wouldn’t have to spend time cropping the edges out in post-production, and spot-metered on my daughter’s face. Keep in mind that the light bouncing around outside your door or window is going to affect the color balance on your subject and background, and without artificial light flashing directly onto the background it will be very difficult to create a perfectly even white background in post-production.
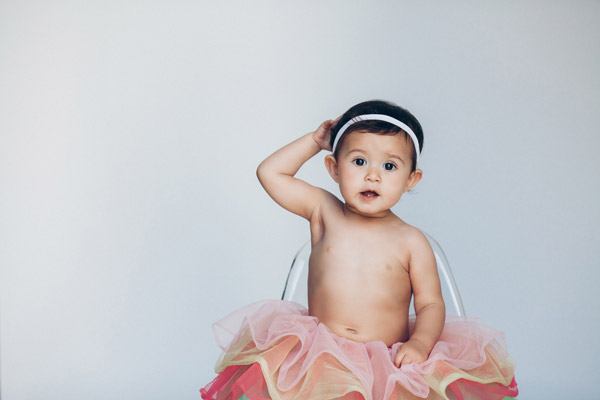
If you’re going to attempt a one-year photo shoot with this setup, I highly recommend having a chair that the child can safely sit in. It really helped prevent the girls from wandering out of the frame to play!
Bonus: So now you know how to set up your own pop-up studio. NYIP can help you become a better photographer. Enroll now for as little as $39, or Request a Free Catalog here.


