

The New York Institute of Photography is one of the world’s largest photography schools and because we are, we often publish fun and useful photography tips on our photography blog. Please enjoy!
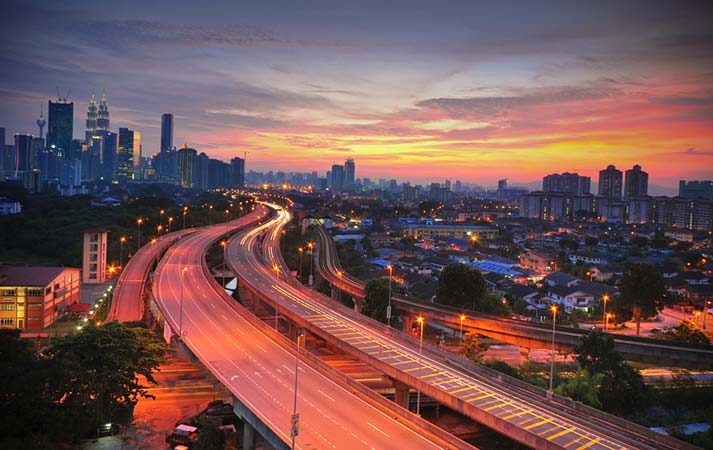
If you’re a photography enthusiast, we’re almost positive you’ve heard of the infamous golden hour. A compositionally magical time of day, this key block of time is best known for offering artists some of the most flattering possible natural light to work with in developing stunning sunset photography. For those who want to make the most of Mother Nature’s golden hour opportunity, here are some of the best ways to take advantage:
- Time it Right- When should you be ready to shoot? According to experts, the golden hours happen during the first hour right before the sun rises and during the last hour of light right before it sets. At these precise times, the sun is closer to your subject because it’s going through more of earth’s atmosphere. Because of this key positioning, it will shed a stunning, soft, diffused light on your shot. Predicting these exact times can be tricky, especially depending on where you’re located. Lucky for you, this NYIP grad developed a Smartphone app for photographers that will do the calculating for you.
- Perfect your Lighting- Depending on the look you’re trying to achieve, there are different ways you should adjust accordingly to take advantage of the golden hour glow. If the subject you’re shooting is facing the sun head-on, golden hour lighting will give your shot a naturally warm feel (that you can further enhance if you’d like via post-processing). To backlight your images, the sun will be behind your subject instead. If this is the case, your most important adjustment should be to your exposure, to make sure you’re capturing the correct tones of your subject.
- Get creative- If you want to create a halo look around your subject, either place the sun behind your subject or make sure the background is dark. It can also be helpful to try a lower camera angle if you’re looking to achieve this.
Want to learn more? NYIP offers online photography courses that can help you improve your hobby or start a new career. Request your free course catalog today!


