

The New York Institute of Photography is the world’s largest online photography school, and because we are, we often publish fun and useful photography articles. Please enjoy!
Capturing sharp images of birds in flight is one of the most challenging techniques for photographers of all skill levels. Like all difficult tasks however, the rewards can be great. Here are the top three techniques needed to consistently create beautiful photos of our feathered friends.
- Considering how fast most birds fly, the first critical setting is the shutter speed. The ideal starting point is 1/1000th of a second. There is little room for compromise here. Anything slower, and the birds wings will show as nothing but blur. With this decision made, you can move to the next part of the exposure equation, aperture, and ISO.
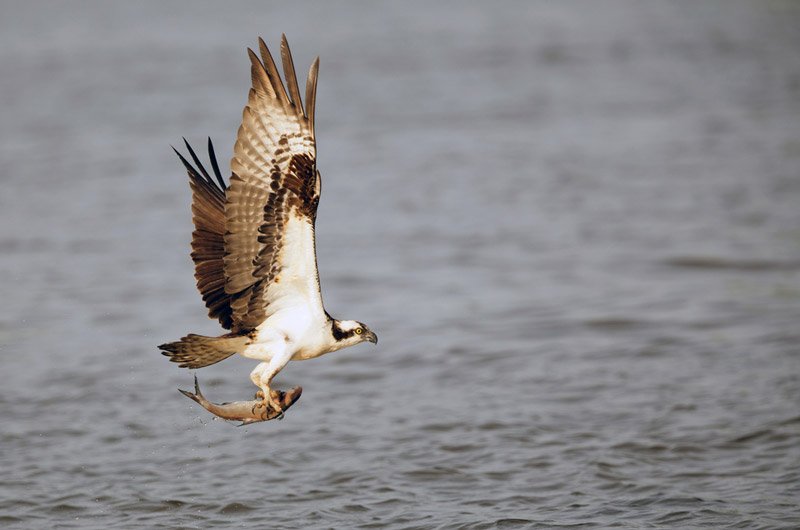
- While an ultra wide aperture like f2.8 lets in a great deal of light, it's not necessarily the ideal choice for birds in flight. Ultimately, you want more depth of field to keep the entire bird sharp. Some raptors, like Osprey for example, have massive wing spans of nearly six feet. As such, I recommend a setting of f5.6. This is still wide enough to let light in while providing sufficient depth of field. Considering that you're shutter speed is so fast, and the aperture is slightly closed down, the ISO will likely need to be raised. Start the morning between 800 and 1600 and lower it as the sun continues to rise. By 9am you will likely be all the way down to ISO 100 - 200.
- Like all moving subjects, using the center autofocus option along with the C-AF or AI Servo mode will provide the best results. The outer points are difficult to adjust quickly and are not as sensitive as the middle point. Keep your active focus area on the bird with your shutter button held halfway down. This enables the camera to track the bird and automatically adjust the focus. It works for subjects passing left to right and also those which are heading directly towards you. Rather than using "One Shot" mode, select the continuous high speed burst option to capture more frames per second.
Want to learn photography? NYIP can help. Request your free course catalog today!


