

Your digital camera may perform magnificently in outdoor sunlight, but when you try to shoot close-up subjects in indoor light, everything looks slightly fuzzy. Why is that? Well, there are several contributing factors. Luckily, you don't need a lot of technical know-how to solve these issues and take sharper indoor shots.
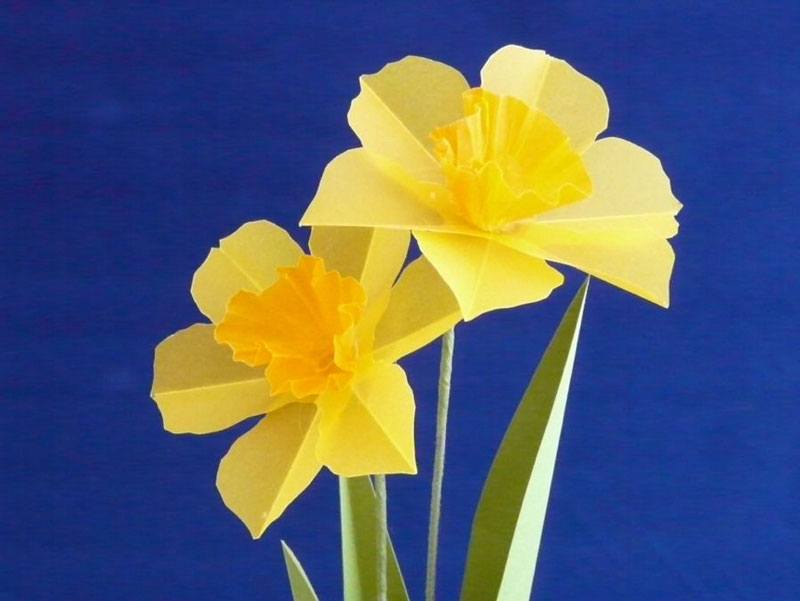
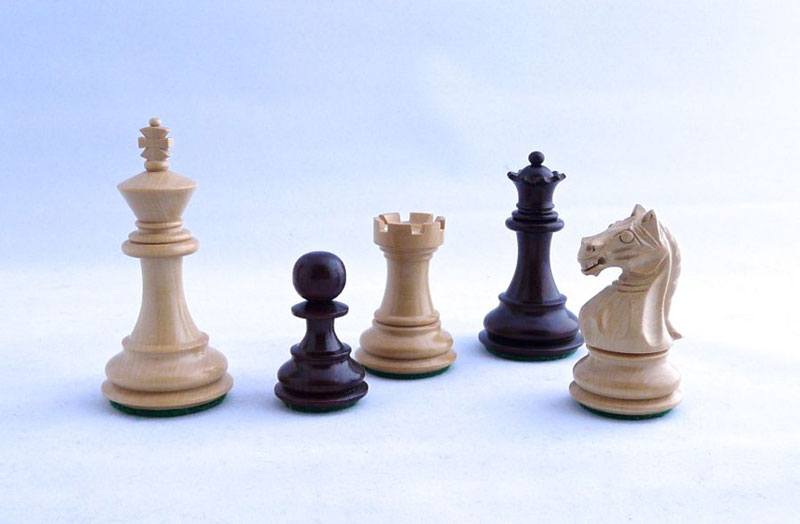
The upper shot was taken in a low-light setting. My camera did its best to compensate, but sharp focus was definitely sacrificed. The lower shot was taken in more light.
1. You Don't Have Enough Light
The first three factors we'll cover here are deeply interconnected, but if I had to pick a number one reason indoor photos go fuzzy, it's that your camera doesn't have enough light to work with. The less light you have available, the more your camera automatically adjusts its exposure settings to compensate. In many low-light situations, these compensations will result in fuzzy images.
Generally speaking, the amount of light that seems fine to your eyes is nowhere near what your camera needs in order to get a sharp focus. You can add light with your camera's flash, but that's rarely a good solution ¬— flash light flattens and washes out images. Instead, shine some lamps with daylight halogen bulbs on your subject, or better yet, shoot where there's diffused sunlight coming in through a window.

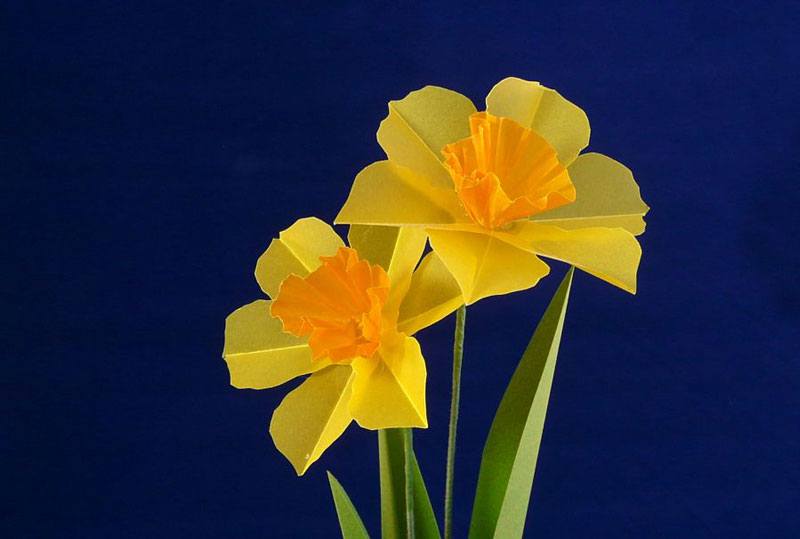
The upper shot was taken at a higher ISO setting; the lower shot at a lower ISO setting. Notice how the small details are sharper at the lower setting? Notice how the background has a rougher quality at the higher setting?
2. Your ISO Setting is Too High
If you're new to ISO, don't panic; we'll be as non-technical as possible here. Your camera's ISO setting is an indication of how sensitive it is to light. The higher the ISO setting, the more light-sensitive your camera becomes.
When you shoot in low-light situations, you may want to set your camera to a higher ISO setting so it can make better use of light. (On some camera models, this is called a "Max ISO" setting.) The only problem to watch for is this: the higher the ISO setting, the more potential there is for "noise," or digital graininess, to appear in your photo, degrading its sharpness.
If you're having trouble getting a sharp focus, try lowering your ISO setting a bit. Or, take the same image at several ISO settings and see which is sharpest.
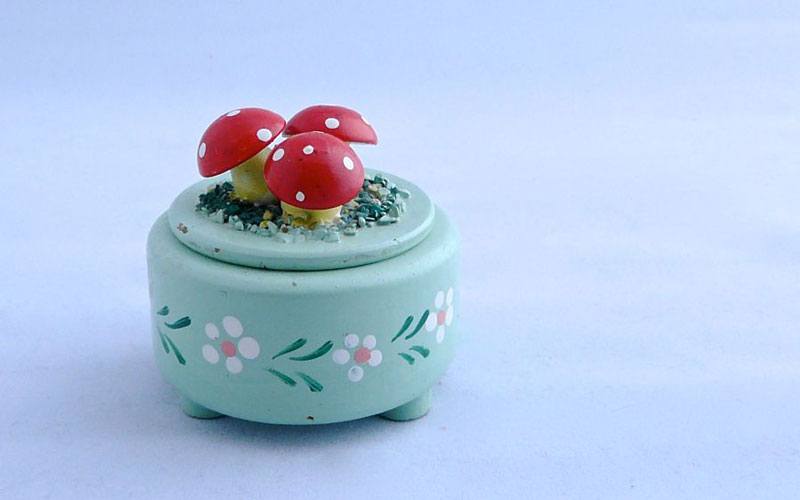
The upper shot was taking at a slower shutter speed. In the lower shot, you can see how a faster shutter speed led to sharper focus.
3. Your Shutter Speed is Too Slow
Again, we'll be very non-technical here. "Shutter speed" refers to how much time your camera spends capturing an image. If your camera spends, say, 1/100th of a second, then it can't capture very much motion at all, and the image is likely to be sharp. If your camera spends a full second taking a photo, well, that's a lot of time to capture all kinds of motion and blur out the image. (Where's this motion coming from? Well, either your subject moves slightly, or you do.)
If you're having trouble getting good focus, you might try working with your camera in "shutter-priority" automatic exposure setting. This setting allows you to change the shutter speed as it automatically adjusts the other elements of exposure for you. A faster shutter speed might get you the sharpness you're looking for. (It should be said, though: shutter speed is closely related to ISO, so as you shorten the shutter speed you could end up raising the ISO and creating that "noise" we were just discussing. Good photography is all about balancing elements.)


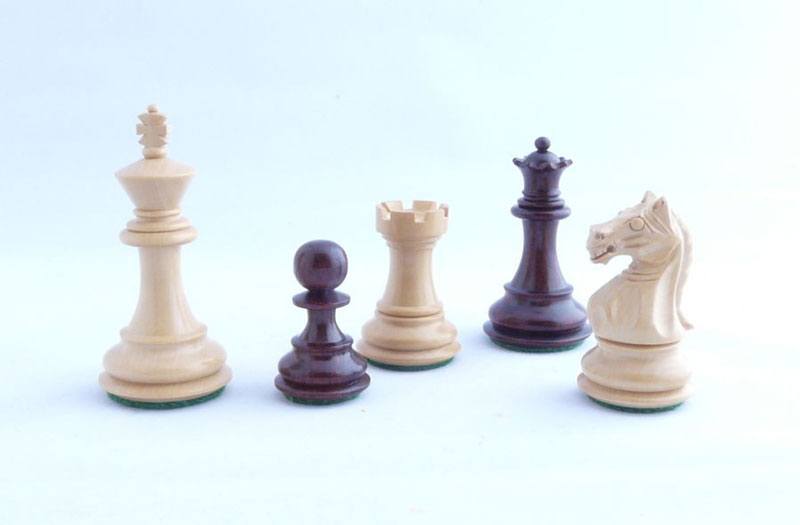
Both of these shots were taken in good lighting conditions. In the upper one, I held the camera in my hands. In the lower, I used a tripod. The difference between them is subtle, but you can definitely see better focus detail in the lower one.
4. You Moved the Camera
As we just discussed, the slightest movement of your camera while you're taking a photograph can soften its focus. If you need to produce good quality indoor photography regularly, invest in a sturdy tripod — it makes a world of difference. If you'd rather not invest, you can simply set up a table, box, or a stack of books and place your camera on that. If you need to hold your camera, try tucking your elbows into your body to steady yourself. If you can, lean against something solid.
Your camera can even move slightly as you press the shutter! Overcome this by using your shutter timer, which adds a few seconds' delay between your shutter press and the photo capture. Those few seconds will absorb any slight motion you created while pressing the shutter.

The upper shot was taken with too little light. When I try to add that light in a photo editor (lower shot), see how much of the detail gets blown out?
5. You're Trying to do Too Much Correcting in Your Photo Editor
Photo editing tools are fantastic because they correct a multitude of issues, turning so-so images into good ones. It's tempting to rely heavily on them when you're shooting with indoor light because you can so easily "create" the extra light you need by brightening the images later in your editor. The problem is, if you have to brighten an image significantly to get a decent level of light, you'll end up blowing out detail and creating a soft focus.
Always start with the best-lit image you can manage with your camera, and then use your photo editor to make the smallest adjustments possible — that's the best path to sharp focus.
Try these tricks on your next indoor photo shoot, and see what happens!
Interested in taking your photography to the next level? Try a photography course with NYIP


