

As photographers, there are a number of simple adjustments we can make in an effort to add an element of interest to an otherwise mundane shot. From finding eye-catching pops of color to incorporating balance and symmetry into our compositions, when it comes to taking pictures that stand out, it’s crucial that we find a way to integrate some sense of aesthetic intrigue in the frame before we click the shutter.
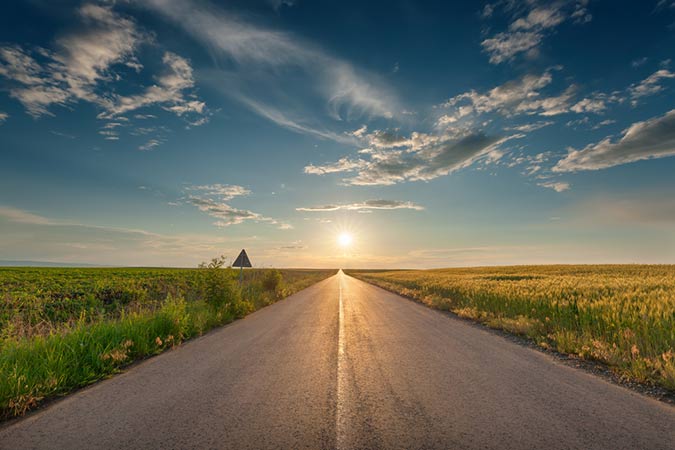
If you’ve never heard of a vanishing point, it’s pretty simple to understand. In any image taken with a generous depth of field, images in the background of the frame are going to have a different size relative to those closer objects positioned up in the foreground- this is a simple fact of space and perspective. To take that understanding a step further, the vanishing point in a photo like this refers to the point in said image at which parallel lines appear to converge in the super distant background. So because of the fact that perspective causes objects to appear gradually smaller and smaller the further they are from the camera’s lens, eventually those smallest objects in the distance seem to just disappear altogether- this is the vanishing point. In an effort to capture the beauty of this phenomenon most clearly, we’re going to work specifically with focus and aperture adjustments, stopping down in order to capture the depth most clearly.
For a comprehensive guide to mastering these functions on your digital camera, check out NYIP’s online Fundamentals of Digital Photography Course.
Sometimes referred to as the single point perspective, the concept of the vanishing point is an excellent creative tool for photographers to focus on in an attempt to add drama and depth to their shots. This is a great technique to use in particular when you’re trying to emphasize the sheer size of a breathtakingly large landscape with an impressive depth of field. Put into practice, if you’re ever faced with a nice, sweeping landscape and you want to experiment with this technique, there are a few adjustments you can make to improve the shot.
Firstly, we highly recommend you use a small aperture setting. This will alter the physical size of the lens opening you’ll shoot with. Bear in mind, aperture setting numbers alone can be a bit tricky and misleading for amateur photographers, which is why we’ve created an entire course dedicated to the navigation of all the intricate (but crucial) settings like this on your camera. Essentially, the smaller the aperture is, the larger the fstop setting will be. So for example, if you usually shoot with an fstop of f16 and you want to try something smaller for this vanishing point experiment, adjust it to something like f22 for a smaller opening.
When it comes time for you to choose a point in your image at which to focus, we recommend shooting for somewhere about one-third of the way back into the scene if you’re trying to achieve a great depth of field. At this distance, you’ll be able to keep both the foreground and background in focus while still capturing a great distance of scenery. This is crucial for capturing the intrigue of the vanishing point specifically, considering that when photographers do not stop down the aperture and focus this way, the background usually turns into a gentle blur.
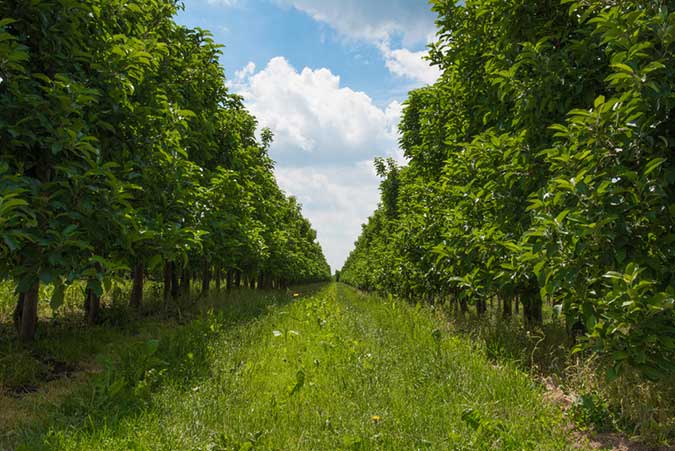
It’s also worth bearing in mind that not everything you photograph will have an extremely pronounced vanishing point, so it’s definitely worth doing some exploring until you find a scene that lends itself to this technique specifically. If you’re looking for somewhere to exercise this concept, try: the rows of an orchard (or somewhere with crops planted in pronounced lines), a lengthy avenue in a city, or some abandoned (absolutely check to ensure that they are no longer in use!) train tracks.


